
Titan Email empowers you to flexibly manage your email accounts, whether you're looking to expand your team's email capabilities or streamline them by removing unneeded accounts. Here’s how you can add or remove Titan Email accounts effortlessly.
Adding Titan Email Accounts
- Log into your Control Panel.
- Go to 'Manage Orders' -> 'List/Search Orders.'
- Click on the domain name associated with your Titan Email order.
- Find the "Total Email Accounts" section in the Order Overview.

- Click 'Buy More' to add new accounts.
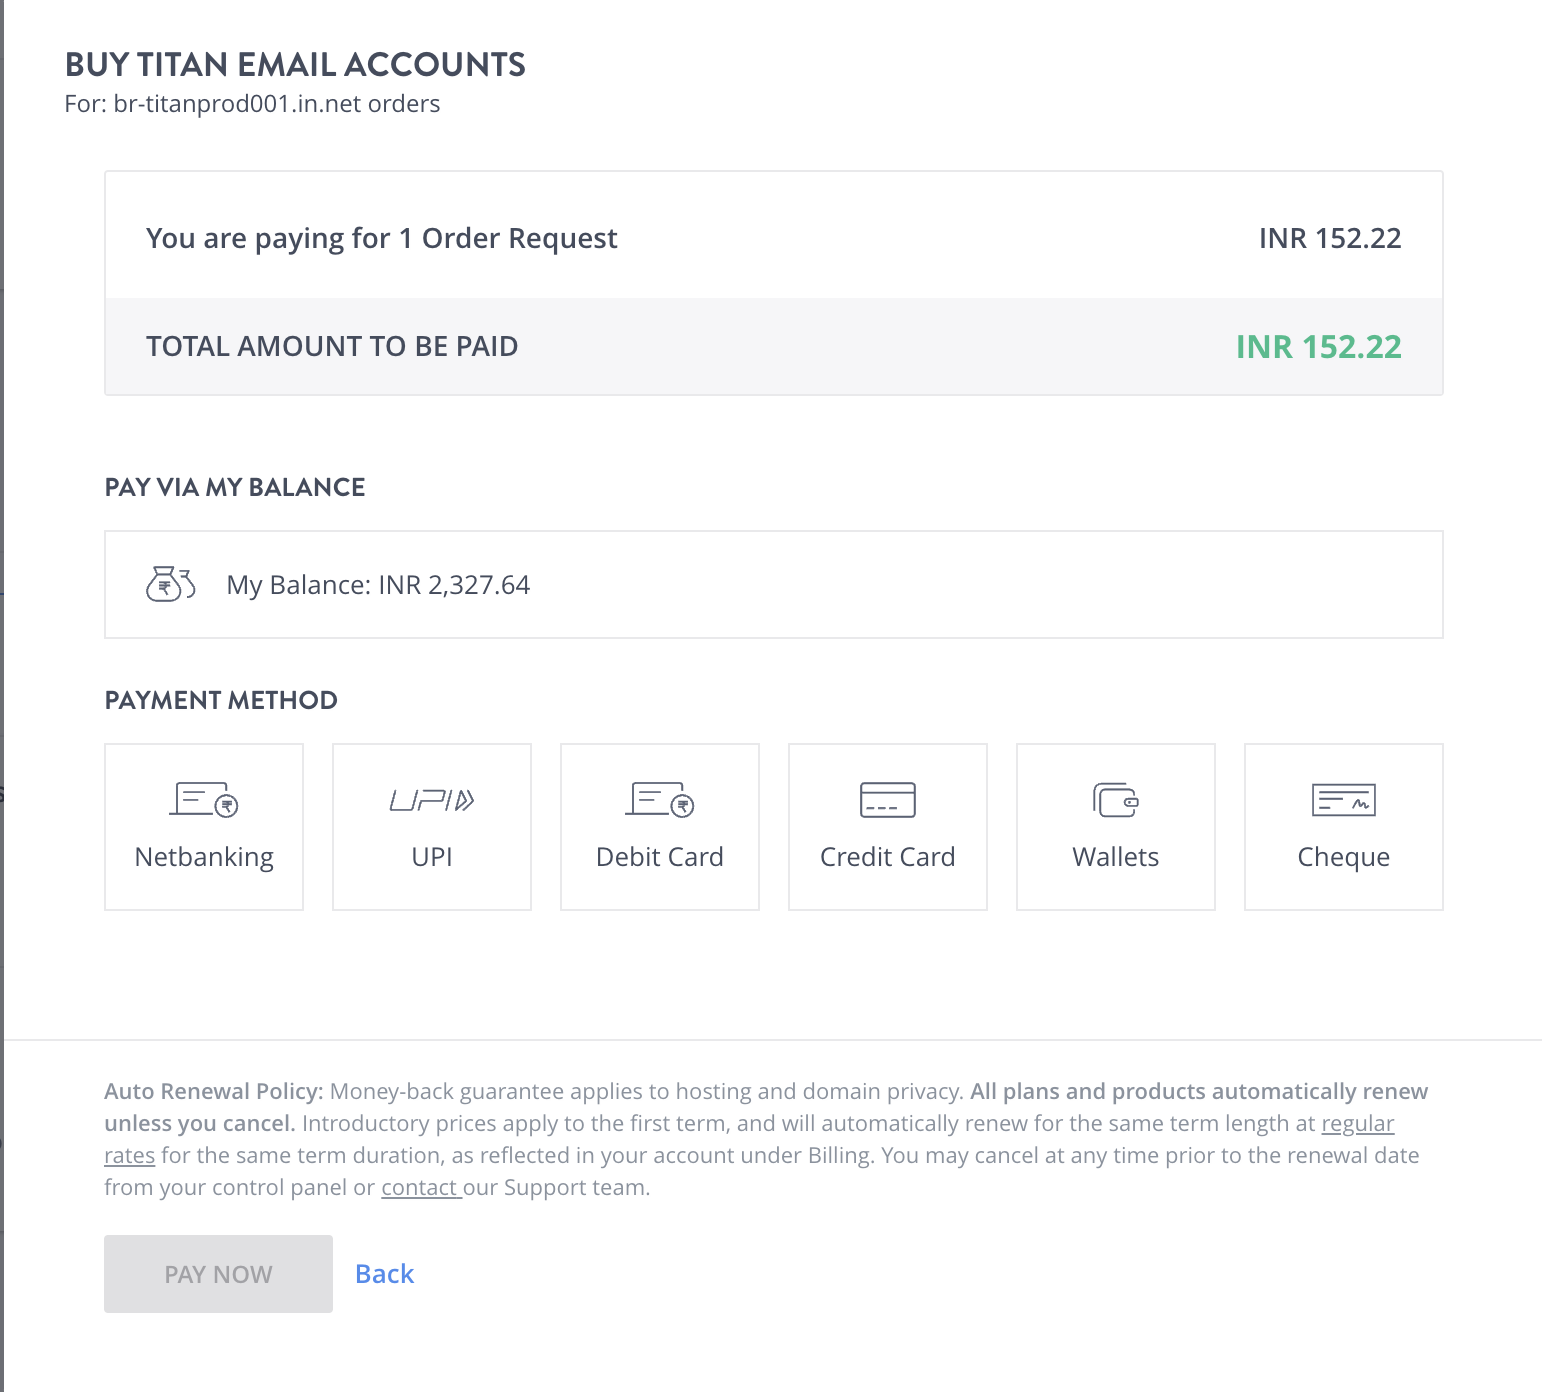
- Specify the number of accounts you want and the duration. The cost will be calculated on a pro-rata basis, so you only pay for what you need until the order's expiry.

- Review the total cost and proceed to checkout.
- Choose your preferred payment method and confirm the transaction.
- Your new accounts will be ready for use right away in your admin panel.
Removing Titan Email Accounts
- Navigate to your Titan Email order in your Control Panel as before.
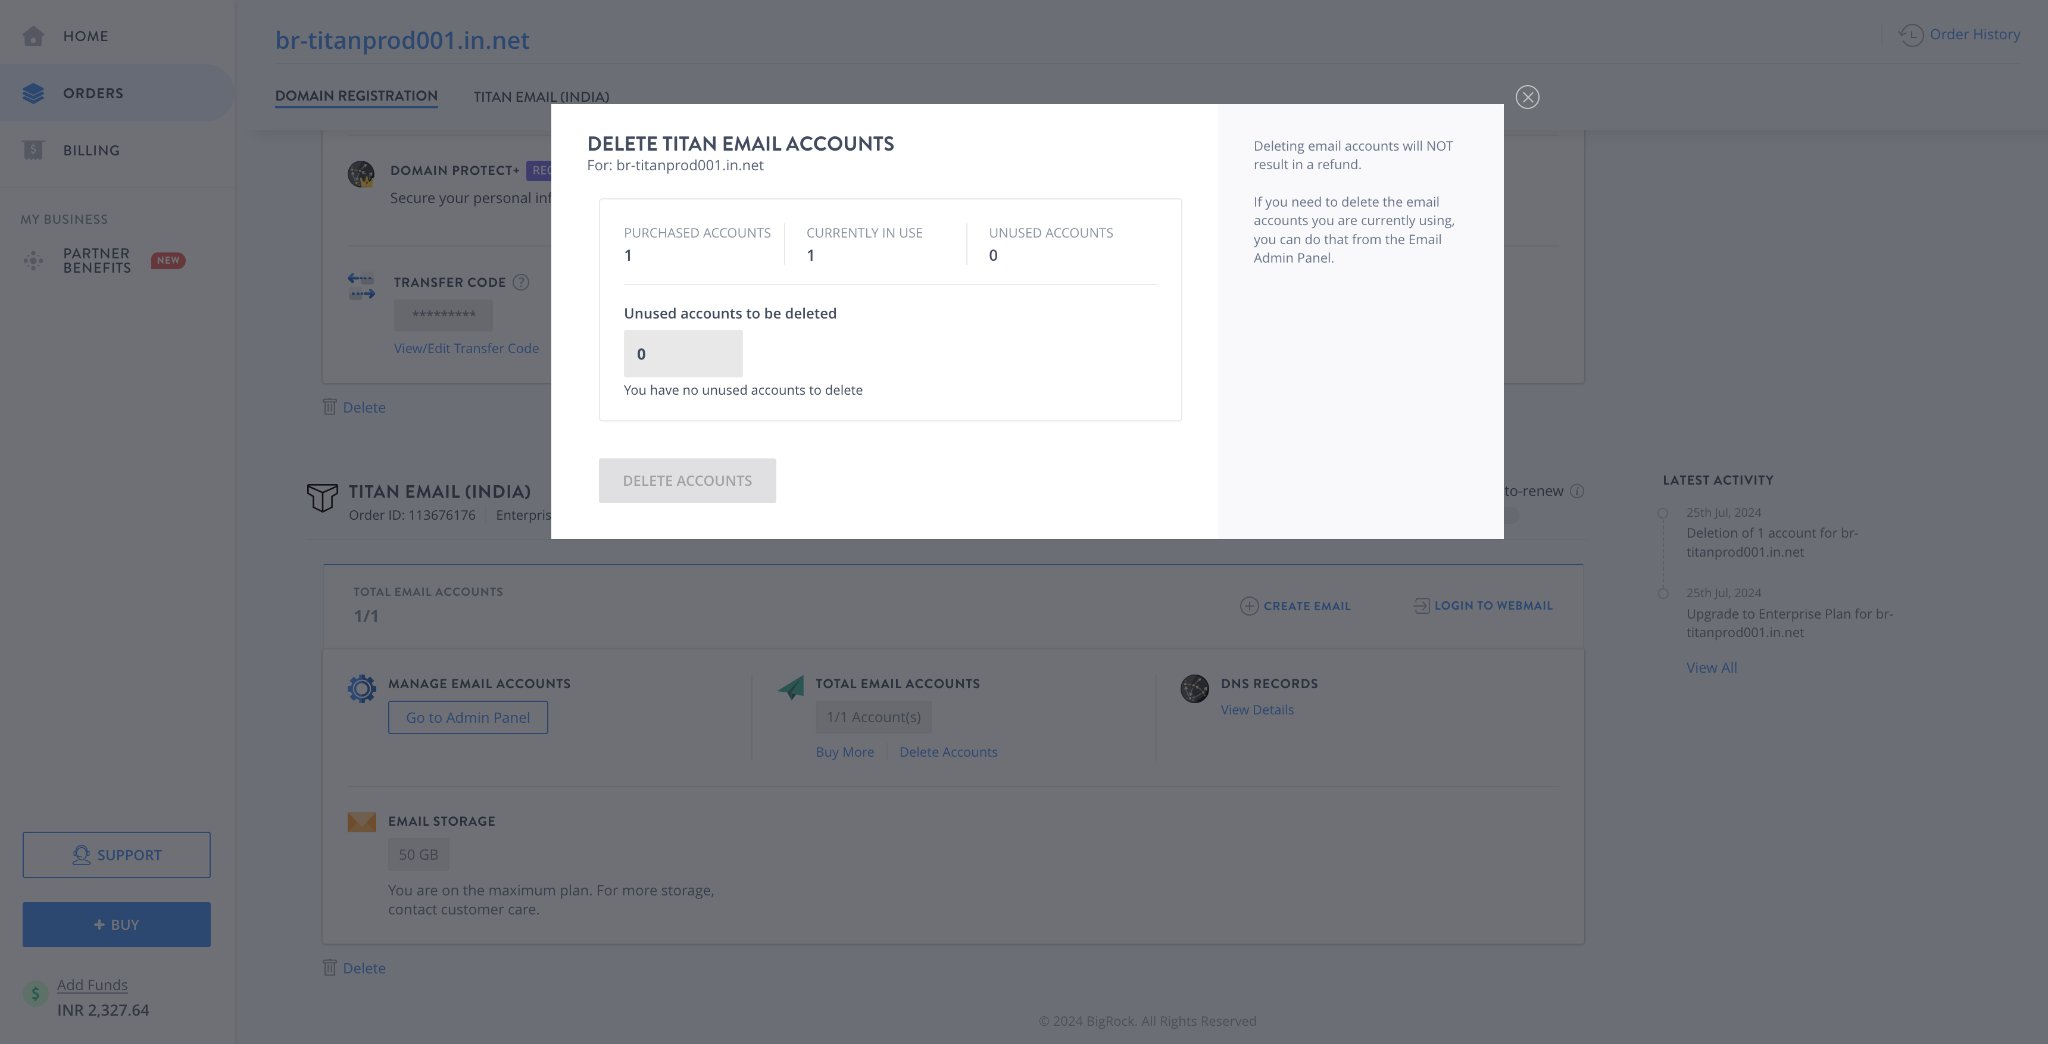
- Click 'Delete Accounts' under the "Total Email Accounts" section.
- You’ll see how many accounts are currently in use. Remember, seats are non-refundable and can be deleted at any time. It is advisable to adjust your seats at renewal time.
Important Notes
- You can add seats at any point in your service term. The cost of additional seats is calculated on a pro-rata basis until the order's expiry.
- Once purchased, seats are not refundable. They can be deleted at any time, but no refunds will be issued for deleted seats.
- To reduce the number of seats, delete the desired seats first, then proceed with the renewal of your plan.
- It is necessary to maintain at least one active seat to keep your Titan Email order active. Deleting all seats requires the deletion of the entire order.